Maker Space: Osmo Tutorial
Making this iMovie tutorial was a very enjoyable experience. While creating this tutorial, I got the opportunity to work with two other future educators, Ashley Buessing and Morgan Hauserman. It is always nice to be able to bounce ideas off one another. After all, educators and teachers are very good at sharing ideas and lessons! Through completing this assignment, I was able to explore a place in the Kansas State University Catalyst that I had never explored before. It's called the "Maker Space." For this particular assignment my team and I chose to focus on one specific item in this Maker Space. We chose to create a tutorial over the Osmo gaming system. Prior to completing this assignment, I had never heard of this gaming system.
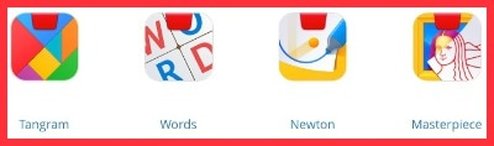
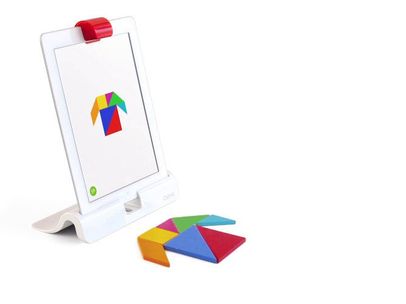
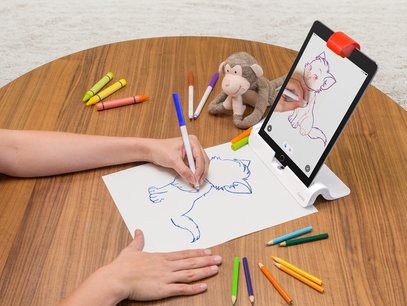
Osmo is a gaming system for the iPad that comes with a reflector, tangrams, word pieces, and a base. In order to play, you need to provide your own iPad. The iPad sits in the base that is provided for you in the Osmo kit. You put the red reflector on your iPad camera so that it can reflect the camera downward, creating a digital playing area. This helps the iPad recognize what you are putting on the surface in front of it. Now, you are ready to download the apps! There are several apps for the Osmo gaming system, however, the Osmo kit in the KSU Catalyst came with pieces for three specific apps: Tangram, Words, and Masterpiece. In our video below, we show you how to use each one of these apps!
As we were creating this tutorial video, we were faced with several challenges. The first challenge we faced was that no one on our team had ever heard or played with the Osmo gaming system, so we had to spend quite some time playing around with it to figure out the features of each app and how the gaming system worked. Another problem that we had was that the Catalyst was so noisy. We started out by trying to record our first video clip in the actual Maker Space in the Catalyst, however, we listened to it and realized that the background noise was very distracting. In order to make a high quality video tutorial, we knew we needed to find a quieter area to record. We solved this problem by checking out an empty room to record in from the Catalyst front desk. We checked out the Osmo and an additional room by giving the Catalyst front desk workers our Student ID Cards. This worked out much better. Our final challenge that we faced was making sure that all of our team members were in the video an equal amount of times. We decided that we could each explain one of the Osmo apps since there were three. This worked out very well. Additionally, Morgan was in another video clip introducing the Catalyst, Ashley introduced the Maker Space in the Catalyst, and I introduced what was all included in the set. We were very good at working together to solve all these challenges to ensure that our video tutorial would be a success!
I discovered that making step-by-step tutorials takes a lot of time and thought. Tutorials are not something you can just slop together quickly and call them good. You really have to make sure you are explaining everything in a way that anyone who is watching can understand. You have to make sure you don't leave out any steps, even the small steps that you think everyone will already know how to do. The iMovie app made this tutorial a lot easier. I like iMovie because it is so easy to use! All you have to do is record the video clips on your regular iPad camera and transfer them onto the iMovie app. This is such an easy process. Next, you are able to arrange the video clips in any order and cut the video clips where they need to be cut. You are also able to add pictures to the iMovie app. iMovie could be used in a classroom for any age of students. For example, a teacher could have his/her students make an iMovie over a book, make a video of a science experiment, explain how to solve a math problem, etc. Students could make an iMovie as an assessment of content after a lesson. Teachers can also use iMovie either to enhance their lesson or as a hook to get their students motivated and engaged in their lesson! There are countless ways educators can use the iMovie app in their classroom.

|
|
|

|
|
